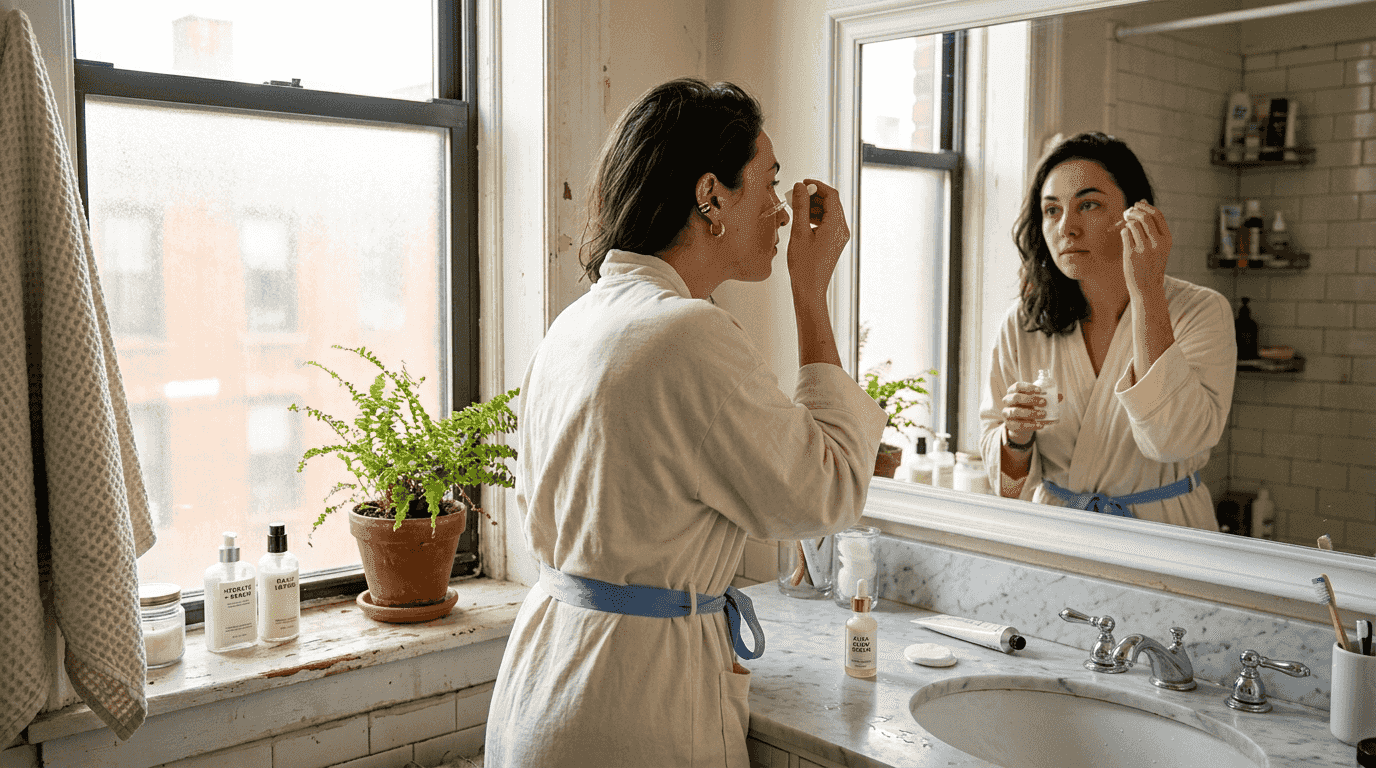
Struggling with dull, uneven skin despite trying countless products? You're not alone. Many people invest in expensive serums and creams but see minimal results because they lack a structured approach. The secret to achieving sculpted, glowing skin isn't just about what you use, but how you layer products and integrate advanced at-home devices. This guide provides a clear, actionable roadmap to transform your skincare routine from guesswork into a results-driven system that delivers visible improvements.
Table of Contents
- What You Need Before Starting Your Skincare Routine
- Step-By-Step Skincare Routine For Sculpted Glowing Skin
- Common Mistakes To Avoid And Troubleshooting Your Skin Routine
- Expected Results And How To Verify Progress
- Enhance Your Routine With Premium Beauty Devices
- Frequently Asked Questions
Key takeaways
| Point | Details |
|---|---|
| Product layering matters | Proper sequencing of retinol, niacinamide, and moisturizers reduces irritation while maximizing effectiveness. |
| At-home devices work | Microcurrent and LED therapies provide measurable improvements in skin firmness and wrinkle reduction when used consistently. |
| Preparation prevents failure | Starting with pH-balanced cleansers and barrier-supporting ingredients creates the foundation for retinol success. |
| Consistency beats intensity | Gradual introduction of active ingredients and regular device use outperform aggressive, sporadic treatments. |
| Track your progress | Weekly photo documentation under consistent lighting reveals subtle improvements that daily mirror checks miss. |
What you need before starting your skincare routine
Before diving into application techniques, gather the essential products and devices that form the backbone of an effective skincare routine. Without these foundational elements, even the most disciplined routine will underdeliver.
Start with a gentle, pH-balanced cleanser that preserves your skin's natural barrier. Harsh foaming cleansers strip essential lipids, compromising your skin's ability to tolerate retinol and other active ingredients. Look for low-foam formulas with a pH between 4.5 and 5.5 to maintain optimal barrier function.
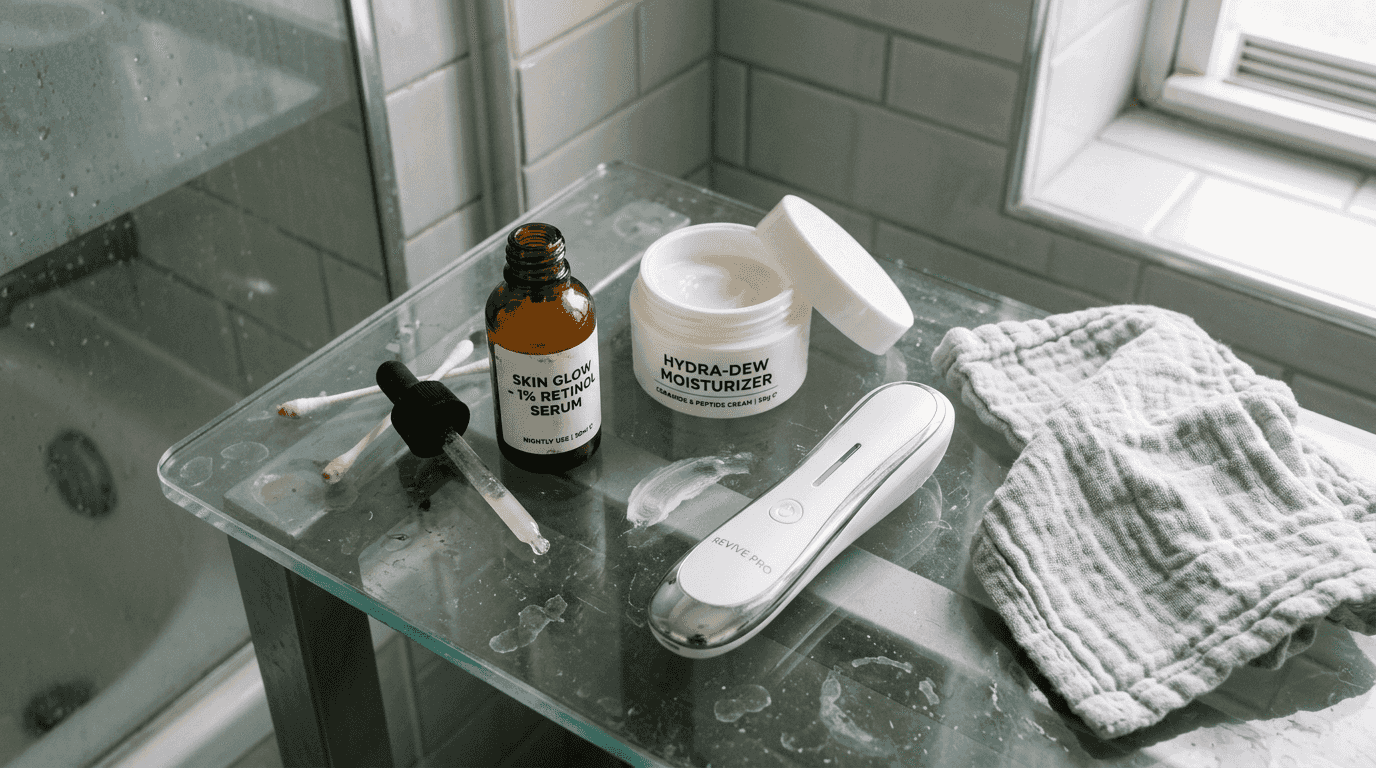
Your core product lineup should include a quality retinol serum, a hydrating moisturizer with ceramides, and complementary serums containing niacinamide and peptides. These ingredients work synergistically to boost collagen production, improve hydration, and reduce inflammation. Niacinamide strengthens barrier function while peptides signal skin cells to produce more structural proteins.
Integrating at-home devices elevates your routine beyond topical products alone. Microcurrent devices stimulate ATP synthesis by up to 500%, energizing facial muscles and promoting temporary lifting effects. LED light therapy tools targeting yellow, red, and infrared wavelengths address wrinkles, hyperpigmentation, and skin texture through cellular-level photobiomodulation.
Create a simple checklist to organize your routine:
- pH-balanced cleanser for morning and evening use
- Niacinamide serum to apply before retinol
- Peptide serum for collagen support
- Retinol serum at 0.25% to 1% concentration
- Ceramide-rich moisturizer for barrier repair
- Microcurrent device for muscle toning
- LED light therapy tool for anti-aging benefits
Pro Tip: Use the sandwich method when introducing retinol. Apply a thin layer of moisturizer first, then retinol, followed by another moisturizer layer. This technique reduces irritation without compromising retinol's effectiveness, making it ideal for sensitive skin or retinol beginners.
Investing in premium beauty devices and advanced skincare products sets you up for measurable success. Quality tools designed for home use deliver professional-grade results when paired with proper technique and consistency.
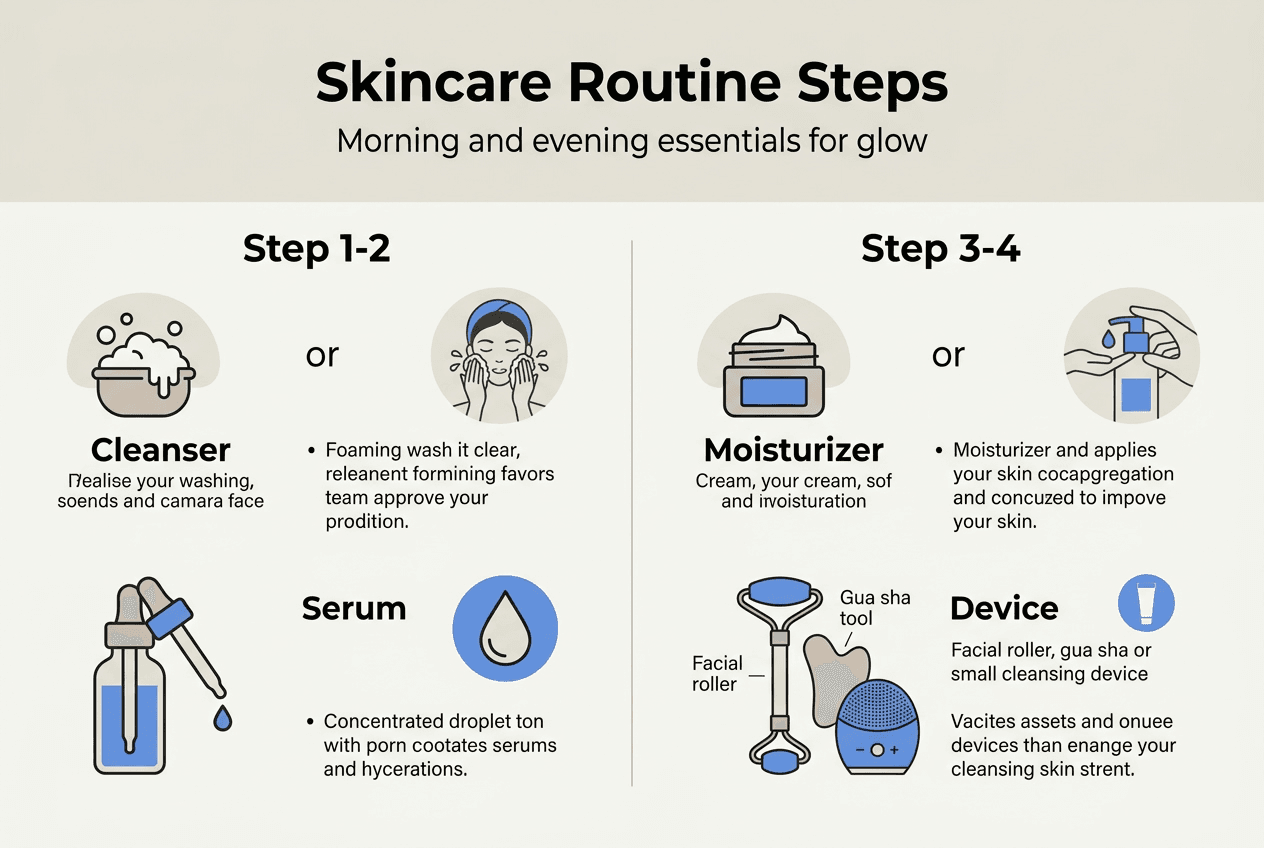
Step-by-step skincare routine for sculpted glowing skin
With your products assembled, follow this detailed protocol to maximize results while minimizing irritation. Proper sequencing and timing transform individual products into a cohesive system.
Begin each morning and evening with your pH-balanced cleanser. Massage gently for 60 seconds to remove impurities without stripping protective oils. Pat skin dry rather than rubbing, which can cause micro-tears and inflammation.
After cleansing, apply serums from thinnest to thickest consistency. Start with niacinamide serum on damp skin to enhance absorption. Wait 60 seconds, then apply peptide serum to signal collagen production. These preparatory layers create an optimal environment for retinol while providing independent anti-aging benefits.
For evening retinol application, use the sandwich method to buffer potential irritation. Apply a pea-sized amount of moisturizer, wait two minutes, then dot retinol across forehead, cheeks, and chin. Finish with another moisturizer layer to seal everything in. This layering approach maintains retinol efficacy while protecting sensitive skin.
Incorporate microcurrent devices five times weekly for optimal muscle stimulation. Apply conductive gel generously, then glide the device along facial contours using upward, lifting motions. Target areas include jawline, cheekbones, and forehead. Sessions last 10 to 15 minutes and provide temporary tightening effects that become more pronounced with consistent use.
Schedule LED light therapy two to three times weekly on non-microcurrent days to avoid over-stimulating skin. Position the device six to eight inches from your face and complete 10-minute sessions. Yellow light targets inflammation and redness, red light stimulates collagen, and infrared penetrates deeply to improve circulation and cellular repair.
Your weekly routine breakdown:
- Monday, Wednesday, Friday: Morning cleanse, serums, moisturizer, sunscreen; Evening cleanse, serums, retinol sandwich, microcurrent session
- Tuesday, Thursday: Morning cleanse, serums, moisturizer, sunscreen; Evening cleanse, serums, retinol sandwich, LED therapy session
- Saturday: Morning cleanse, serums, moisturizer, sunscreen; Evening cleanse, serums, retinol sandwich, microcurrent session
- Sunday: Morning cleanse, serums, moisturizer, sunscreen; Evening cleanse, serums, moisturizer only for skin recovery
Pro Tip: Start retinol at twice weekly application for the first two weeks, then increase to every other night for two more weeks before progressing to nightly use. This gradual approach builds tolerance and prevents the flaking and redness that cause many people to abandon retinol prematurely.
Consistency with skincare routine devices matters more than intensity. Regular, moderate use outperforms sporadic aggressive treatments that can damage your skin barrier and trigger inflammation.
Common mistakes to avoid and troubleshooting your skin routine
Even well-intentioned routines can backfire when common pitfalls go unaddressed. Recognizing these mistakes early prevents setbacks and keeps your progress on track.
Harsh cleansers strip skin lipids and create a compromised barrier that amplifies retinol irritation. If you notice increased redness, stinging, or flaking after introducing retinol, evaluate your cleanser first. Switch to a creamy, non-foaming formula that leaves skin feeling soft rather than squeaky clean.
Overusing microcurrent devices yields diminishing returns and can fatigue facial muscles. While daily use might seem beneficial, muscles need recovery time just like during physical exercise. Stick to five sessions weekly maximum, allowing 48 hours between treatments for the same facial area.
Retinol irritation often stems from aggressive introduction rather than product incompatibility. Many people apply retinol nightly from day one, overwhelming skin's adjustment capacity. Scale back to twice weekly if you experience persistent dryness or peeling, and ensure you're using the sandwich method correctly.
Using harsh cleansers can undermine the entire retinol layering process by destroying the barrier lipids that protect against irritation and moisture loss.
The placebo effect influences perceived improvements from beauty devices, making objective progress tracking essential. Subjective assessments like how your skin feels can be misleading. Rely on photographic evidence and measurable changes rather than daily mirror evaluations that are colored by expectations and mood.
Common troubleshooting scenarios:
- Persistent redness: Reduce retinol frequency and increase moisturizer application
- No visible results after eight weeks: Verify you're using devices correctly with proper technique and adequate session duration
- Breakouts after starting routine: Ensure you're not over-layering products or using comedogenic ingredients
- Device irritation: Check that you're using sufficient conductive gel and not pressing too hard
- Uneven results: Confirm you're treating all facial areas equally and maintaining consistent lighting for progress photos
If irritation persists beyond four weeks despite modifications, consult a dermatologist to rule out underlying sensitivities or conditions. Professional guidance helps differentiate between normal adjustment periods and genuine product incompatibility.
For additional support, explore skincare troubleshooting tips that address specific concerns and provide personalized recommendations based on your skin type and goals.
Expected results and how to verify progress
Setting realistic expectations prevents discouragement and helps you stay committed during the initial weeks when changes are subtle. Understanding typical timelines and measurement methods keeps you motivated.
Visible improvements typically emerge between four and 12 weeks with consistent routine adherence. Initial changes include improved skin texture and reduced dullness around week four. Wrinkle reduction and enhanced firmness become noticeable between weeks eight and 12. Clinical studies show wrinkle reduction up to 27% after 20 weeks of consistent LED device use.
Microcurrent devices provide both immediate and cumulative benefits. Temporary lifting effects appear immediately after sessions but fade within hours. Long-term improvements in facial contour and muscle tone develop gradually. Research demonstrates temporal fullness increases of 12.7% and nasolabial fold depth reductions of 8.3% after consistent use.
Expected outcomes comparison:
| Treatment | Timeline | Typical Improvements |
|---|---|---|
| Retinol layering | 4-8 weeks | Smoother texture, reduced fine lines, improved tone |
| Microcurrent therapy | 8-12 weeks | Enhanced facial contours, temporary lifting, improved firmness |
| LED light therapy | 12-20 weeks | Reduced wrinkles, diminished brown spots, better overall texture |
| Combined routine | 12-16 weeks | Comprehensive improvements across all aging markers |
Track progress systematically using these verification steps:
- Capture baseline photos before starting your routine in consistent lighting, preferably natural daylight near a window
- Take weekly progress photos at the same time of day, from identical angles, with the same facial expression
- Assess skin texture by gently running clean fingers across your face, noting smoothness and evenness
- Measure wrinkle depth using the shadow test: observe how light creates shadows in lines at different angles
- Document subjective improvements like makeup application ease, product absorption speed, and overall skin feel
- Review photo sets monthly to identify trends that daily observations miss
Patience and consistency are non-negotiable for success. At-home devices complement professional treatments but cannot replicate in-office procedures like laser resurfacing or injectable treatments. They excel at maintenance, prevention, and gradual improvement rather than dramatic transformation.
Keep a simple log noting product application, device usage, and any reactions or observations. This record helps identify which elements drive your best results and allows you to refine your routine over time.
For comprehensive tracking tools and guidance, visit resources on monitoring skincare progress that provide templates and expert insights.
Enhance your routine with premium beauty devices
Having established a solid foundation in skincare layering and device integration, consider how professional-grade tools can amplify your results. Velmora specializes in dermatologist-approved premium beauty devices designed specifically for achieving sculpted, glowing skin at home.

Our devices integrate the latest microcurrent and LED therapy technologies backed by clinical research, delivering measurable improvements safely and effectively. User-friendly designs support consistent routines without requiring professional training or complicated setup.
Quality devices can amplify your skincare results with consistent use, transforming your bathroom into a personal treatment studio.
Clinically validated LED devices reduce wrinkles by over 25% in 20 weeks when used as directed. Combined with proper product layering, these tools provide comprehensive anti-aging benefits that address multiple skin concerns simultaneously. Free worldwide shipping and comprehensive warranty coverage ensure you can invest confidently in your skincare journey.
Frequently asked questions
Can I use retinol and microcurrent devices together?
Yes, they complement each other when scheduled properly. Apply retinol during evening routines and use microcurrent devices in the morning or on alternate days. This separation prevents over-stimulating skin while allowing both treatments to work effectively. Never apply retinol immediately before microcurrent sessions, as the electrical current can drive retinol deeper than intended, potentially causing irritation.
How often should I use LED light therapy for best results?
Two to three sessions weekly provides optimal benefits without over-treating skin. Each session should last 10 to 15 minutes at the recommended distance from your face. Consistency matters more than frequency, so maintain this schedule for at least 12 weeks before evaluating results. Some users see improvements with daily use, but most research supports the two to three times weekly protocol.
How long does it take to see results from microcurrent devices?
Most users notice improved skin tone and temporary lifting effects immediately after sessions. Sustained improvements in firmness appear after eight to 12 weeks of consistent use, with optimal results developing around 16 weeks. Cumulative benefits include enhanced facial contours, reduced appearance of sagging, and improved muscle tone that persists between sessions.
How do I minimize irritation when starting retinol?
Start with a low 0.25% concentration and apply only twice weekly for the first two weeks. Applying moisturizer before retinol using the sandwich method reduces irritation without compromising effectiveness. Gradually increase frequency as your skin builds tolerance, and always avoid the eye area where skin is thinnest and most sensitive.
What if I miss several days of my routine?
Simply resume where you left off without trying to compensate by doubling up on treatments. Consistency matters, but occasional breaks won't erase previous progress. If you've missed more than a week of retinol, consider scaling back to every other night for a few days to re-acclimate your skin. Device treatments can resume at normal frequency immediately.